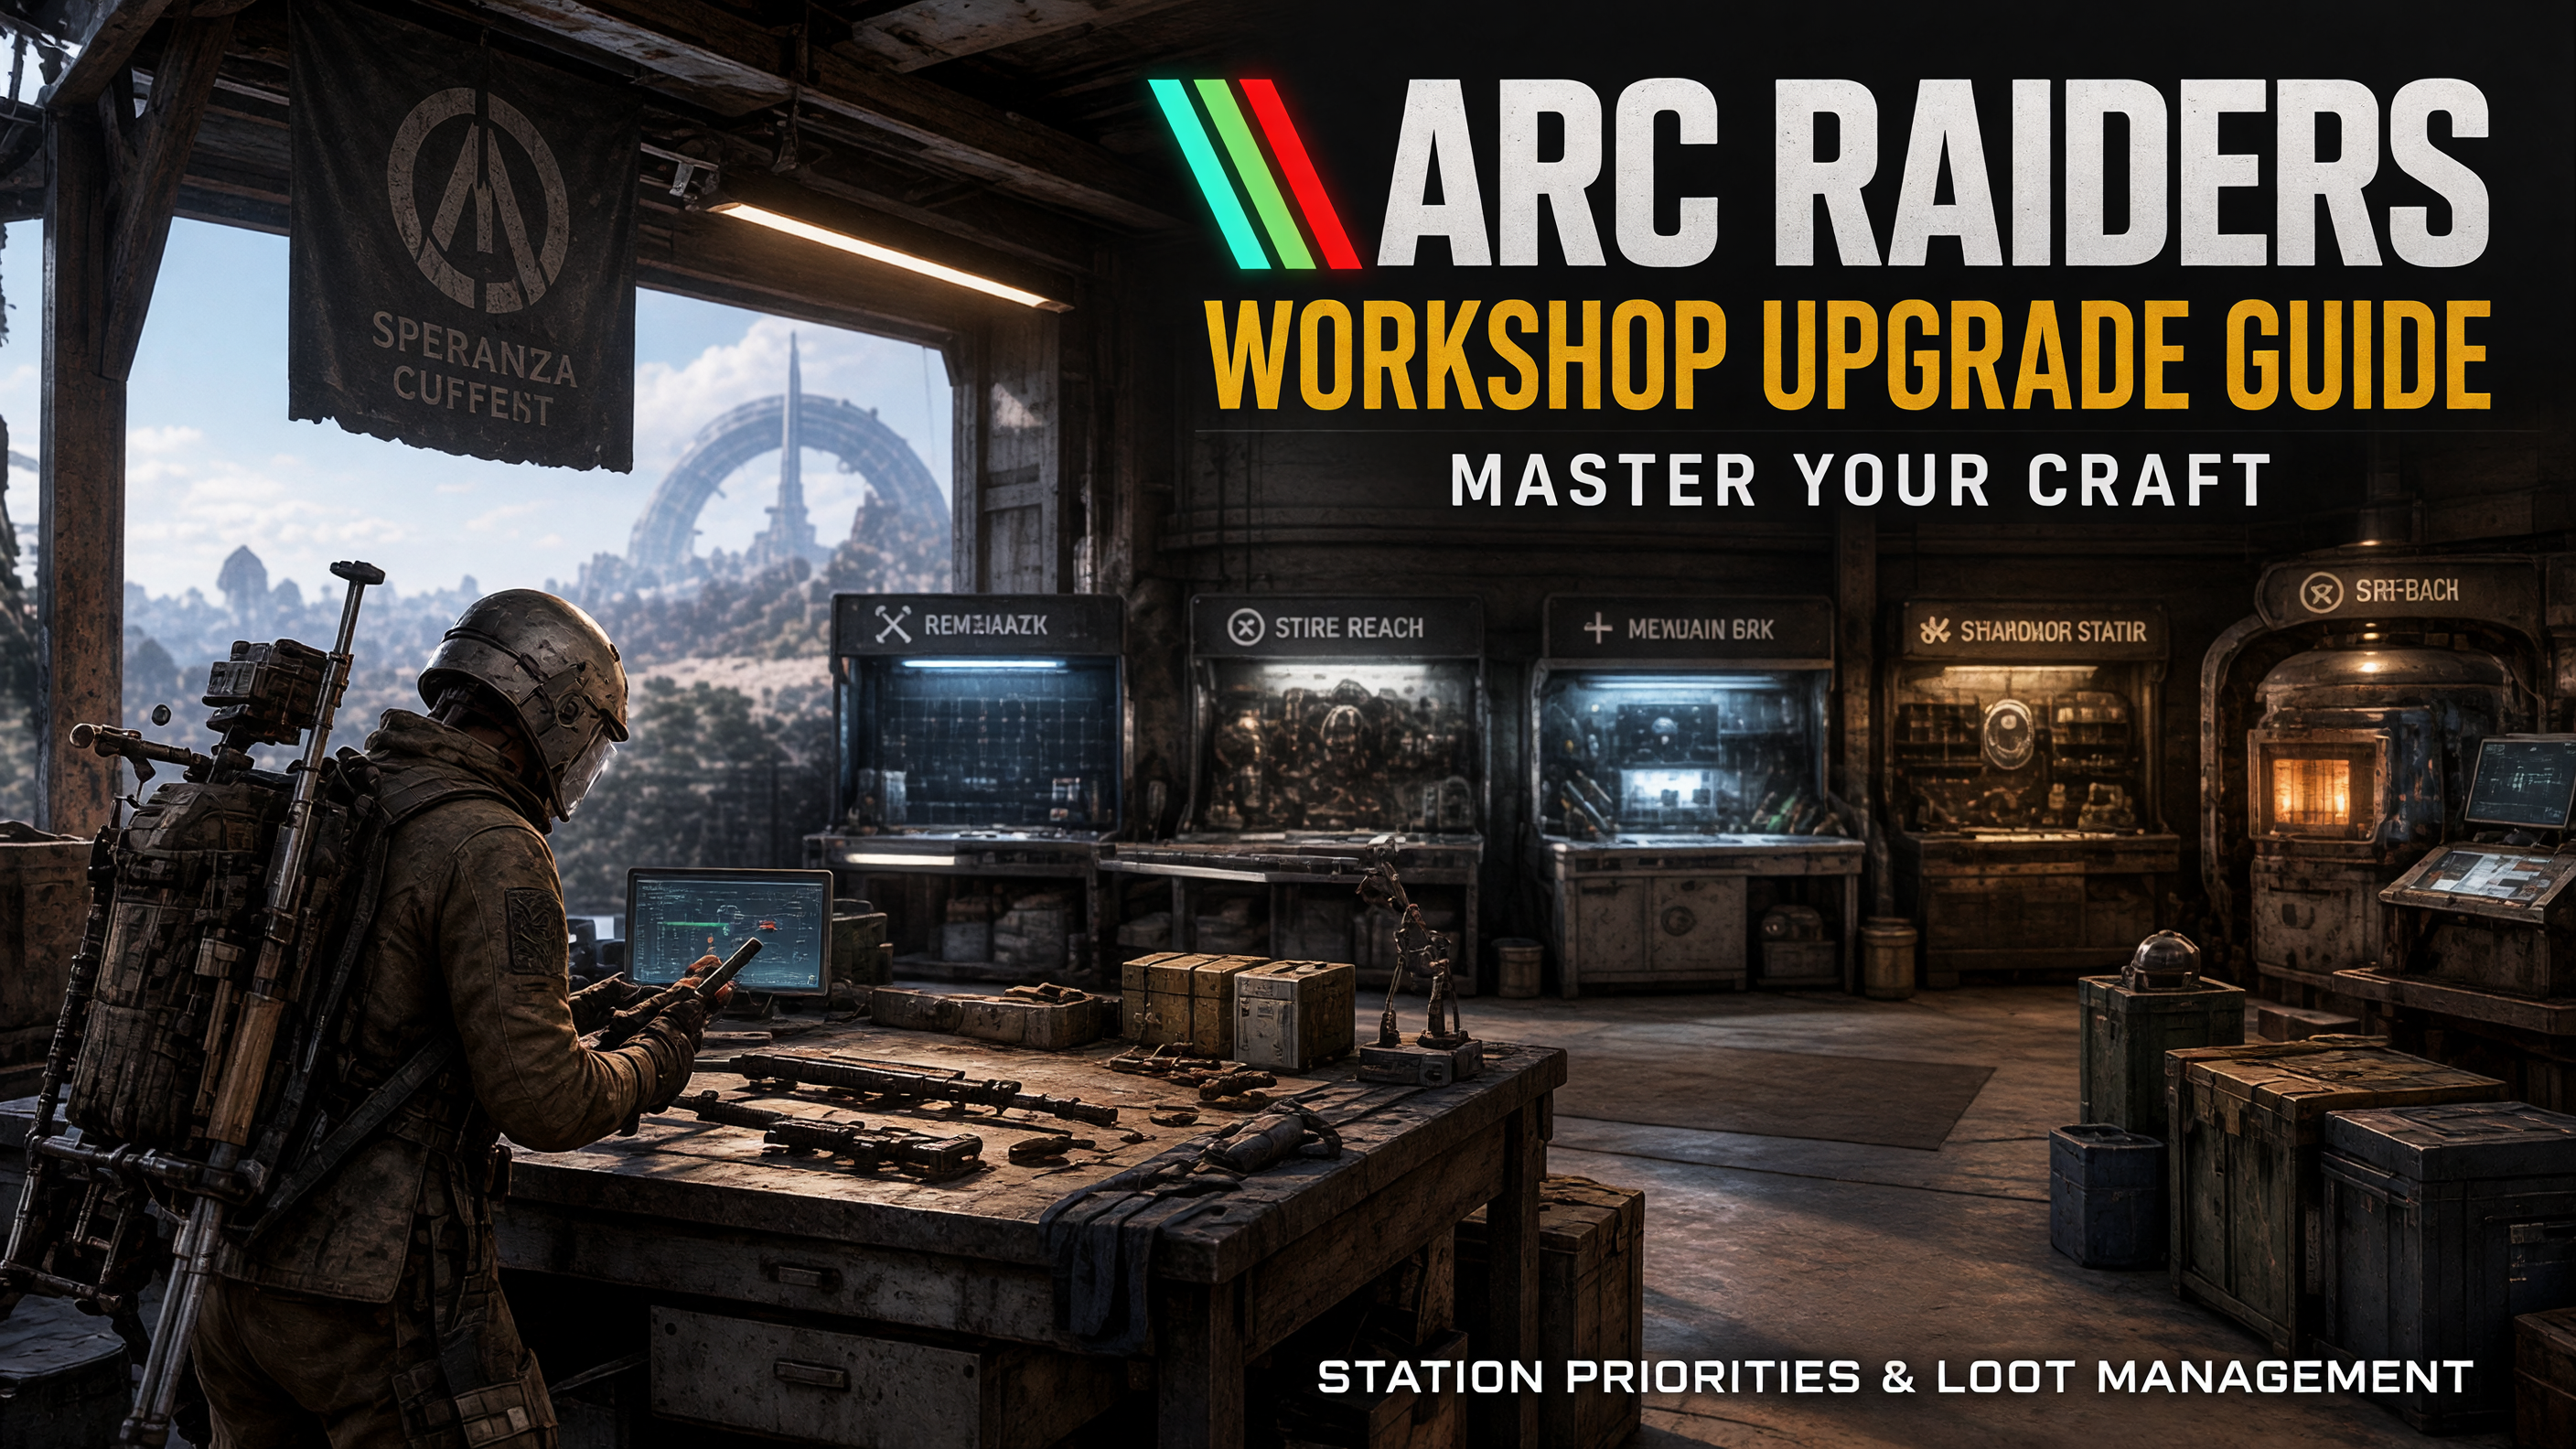
The Workshop is the foundation of long-term progression in ARC Raiders. Upgrading its crafting stations unlocks additional weapons, shields, augments, medical supplies, explosives, and utility equipment. This guide explains the upgrade requirements for each station, how to manage crafting materials, and how to prioritize progression without wasting valuable loot. Managing ARC Raiders Coins alongside your crafting resources also helps you maintain enough purchasing power to replace equipment between raids.
Workshop progression revolves around two separate systems: station upgrades and blueprint acquisition. Station upgrades expand the items a bench can manufacture, while blueprints unlock individual crafting recipes. Having a blueprint does not automatically grant access to its crafting option if the required station level has not been reached.
1. Understand the Workshop Upgrade System
The Workshop in Speranza contains several specialized crafting stations. Each station handles a different equipment category, and upgrading one does not automatically improve the others.
| Station | Main Function | Upgrade Priority |
| Gunsmith | Weapons and weapon modifications | High |
| Gear Bench | Shields and augments | High |
| Medical Lab | Healing and recovery supplies | High |
| Refiner | Processed crafting materials | High |
| Explosives Station | Grenades and explosives | Situational |
| Utility Station | Tactical equipment | Situational |
| Workbench | Basic crafting | Starting station |
Most specialized crafting stations have three upgrade levels. The Gunsmith has a fourth level unlocked through Outpost progression, while the Research Station has its own four-level progression. The basic Workbench is available from the beginning and does not follow the same upgrade path.
The basic upgrade process:
- Return to Speranza after a successful extraction.
- Open the Workshop and select the station you want to upgrade.
- Inspect the required materials.
- Track missing resources so you can identify them during subsequent raids.
- Enter Topside and collect the required components.
- Extract successfully and return to Speranza.
- Complete the upgrade and check the newly unlocked crafting recipes.
Important: Blueprints and station levels are separate requirements. Learning a blueprint unlocks its associated recipe, but you may still need to improve the appropriate station before crafting the item.
2. Gunsmith Upgrade Path and Material Requirements
The Gunsmith should be an early investment if you regularly depend on crafted weapons and modifications. Higher levels expand the available weapon recipes and attachment options, making it easier to rebuild your loadout after losing equipment.
| Level | Required Materials |
| Level 1 | 20 Metal Parts, 30 Rubber Parts |
| Level 2 | 3 Rusted Tools, 5 Mechanical Components, 8 Wasp Drivers |
| Level 3 | 3 Rusted Gears, 5 Advanced Mechanical Components, 4 Sentinel Firing Cores |
| Level 4 | 3 Radial Presses, 3 Magnetic Accelerators, 1 Emperor Modulator |
Level 4 requires the Outpost progression introduced in Frozen Trail. It is also a prerequisite for Weapon Amplification.
Farming priorities:
- Collect Metal Parts and Rubber Parts for Level 1.
- Hunt Wasps when you need Wasp Drivers for Level 2.
- Preserve Rusted Gears and Advanced Mechanical Components for Level 3.
- Reserve Radial Presses, Magnetic Accelerators, and the Emperor Modulator for Level 4.
The Gunsmith is particularly useful when you want to manufacture specific weapons rather than depend entirely on random weapon drops. Check the available recipes after each upgrade to identify which new crafting options match your preferred loadout.
3. Gear Bench and Medical Lab Progression
These stations support two different aspects of survival. The Gear Bench expands defensive equipment crafting, while the Medical Lab provides additional options for healing and recovery.
Gear Bench
| Level | Required Materials |
| Level 1 | 25 Plastic Parts, 30 Fabric |
| Level 2 | 3 Power Cables, 5 Electrical Components, 5 Hornet Drivers |
| Level 3 | 3 Industrial Batteries, 5 Advanced Electrical Components, 6 Bastion Cells |
The Gear Bench unlocks additional shields and augments, including higher-tier Combat, Looting, and Tactical options. Prioritize it when your preferred loadout depends on specific defensive equipment.
Electrical Components and Hornet Drivers become important once you start working toward Level 2. Avoid spending these materials on optional crafting if you are close to completing the upgrade.
Medical Lab
| Level | Required Materials |
| Level 1 | 50 Fabric, 6 ARC Alloy |
| Level 2 | 2 Cracked Bioscanners, 5 Durable Cloth, 8 Tick Pods |
| Level 3 | 3 Rusted Shut Medical Kits, 8 Antiseptic, 5 Surveyor Vaults |
The Medical Lab expands your ability to craft recovery items. Its higher levels unlock options such as Defibrillators, Sterilized Bandages, Vita Sprays, and Vita Shots.
If you regularly consume healing supplies during combat, prioritize this station before investing heavily in equipment you rarely use. Keep Tick Pods and Surveyor Vaults reserved when they are needed for your next upgrade.
4. Explosives Station and Utility Station
Both stations expand your tactical options, but their value depends more heavily on your preferred loadout.
Explosives Station requirements
| Level | Required Materials |
| Level 1 | 50 Chemicals, 6 ARC Alloy |
| Level 2 | 3 Synthesized Fuel, 5 Crude Explosives, 5 Pop Triggers |
| Level 3 | 3 Laboratory Reagents, 5 Explosive Compounds, 3 Rocketeer Drivers |
The Explosives Station unlocks additional grenades and mines as it develops. Higher-level crafting includes equipment such as Wolfpack, Blaze Grenades, Showstopper, Trailblazer, and Surge Coil.
The Refiner can produce certain materials required by this station, including Crude Explosives and Explosive Compounds. Developing both stations can therefore support a more consistent supply of explosive equipment.
Utility Station requirements
| Level | Required Materials |
| Level 1 | 50 Plastic Parts, 6 ARC Alloy |
| Level 2 | 2 Damaged Heat Sinks, 5 Electrical Components, 6 Snitch Scanners |
| Level 3 | 3 Fried Motherboards, 5 Advanced Electrical Components, 4 Leaper Pulse Units |
The Utility Station focuses on gadgets and tactical equipment rather than conventional weapons. Its higher-level recipes include the Raider Hatch Key, Zipline, Snap Hook, Photoelectric Cloak, and Powered Descender.
Prioritize this station if you regularly use mobility and tactical gadgets during exploration or extraction. Otherwise, invest in your Gunsmith, Gear Bench, or Medical Lab first.
5. Refiner Upgrade Strategy
The Refiner deserves early attention once your other stations begin requiring processed components. It converts collected resources into materials used by multiple crafting branches, reducing your dependence on finding every component directly during raids.
| Level | Required Materials |
| Level 1 | 60 Metal Parts, 5 ARC Powercells |
| Level 2 | 3 Toasters, 5 ARC Motion Cores, 8 Fireball Burners |
| Level 3 | 3 Motors, 10 ARC Circuitry, 6 Bombardier Cells |
Its crafting options expand with each upgrade.
- Level 1: Crude Explosives, Durable Cloth, Electrical Components, and Mechanical Components.
- Level 2: Advanced Electrical Components, Advanced Mechanical Components, Antiseptic, ARC Circuitry, Explosive Compound, and several types of Gun Parts.
- Level 3: Complex Gun Parts, Magnetic Accelerators, and Power Rods.
Recommended resource conversion loop:
- Check the material requirements of your next Workshop upgrade.
- Identify which required components can be produced through the Refiner.
- Collect the corresponding base materials during raids.
- Extract and process those materials in Speranza.
- Reserve the finished components for your planned upgrade.
- Use surplus materials for other crafting recipes.
This approach is particularly useful when multiple stations require the same processed components. Avoid refining everything immediately; first check whether a material is needed in its original form for another upgrade.
6. Unlock the Outpost and Research Station
Frozen Trail introduces the Outpost, adding another progression branch beyond the original Workshop. You must complete the Outpost project before gaining access to its facilities and Research Station.
The project is called Sheltered Retreat. Its initial objective, Research Topside Living Conditions, requires you to photograph a farmland house.
Outpost unlocking process:
- Open the Outpost project interface and accept Sheltered Retreat.
- Obtain a Camera from Shani, craft a Basic Camera at the Workbench, or find one Topside.
- Travel to the farmland house objective and take the required photograph.
- Complete the remaining building-material and site-protection objectives.
- Return to Speranza and finish establishing the Outpost.
Once unlocked, the Outpost can be expanded with different modules. Its Research Station provides an additional progression system for research and advanced weapon customization.
| Research Station Level | Required Materials |
| Level 1 | 3 Mini Pumps, 35 Planks, 5 Battered Paperbacks |
| Level 2 | 3 Calculators, 3 Raider Logbooks, 5 Skulker Targeters |
| Level 3 | 3 Differential Microphones, 3 Exodus Technical Handbooks, 6 Bully Fragmenters |
| Level 4 | 3 Thermal Shakers, 3 ARC Data Modules, 1 Frigate Inductor |
Each Research Station level also requires the corresponding Outpost expansion level. Collecting the materials alone is not sufficient if the Outpost has not reached the necessary level.
7. How to Unlock Weapon Amplification
Weapon Amplification is an advanced progression system introduced with Frozen Trail. It allows compatible weapons to receive additional modifications through the Research Station and Gunsmith.
Before working toward amplification, prepare the following:
- Unlock the Outpost through Sheltered Retreat.
- Expand the Outpost to support the required Research Station level.
- Upgrade the Research Station to Level 4.
- Upgrade the Gunsmith to Level 4.
- Research the required amplification options.
- Obtain the appropriate modules and materials for your chosen weapon.
The Research Station handles the research progression, while the Gunsmith provides the weapon upgrade infrastructure. Both stations must reach Level 4 before you can access the corresponding Weapon Amplification progression.
Do not spend rare materials without deciding which compatible weapon you intend to develop. Check the available amplification options and their requirements before committing resources.
8. Workshop Upgrade Order and Loot Management
There is no universal upgrade order because different Raiders have different equipment requirements. However, the following progression provides a practical starting point for developing your crafting infrastructure.
| Priority | Station | Main Reason |
| 1 | Gunsmith | Weapon crafting and modifications |
| 2 | Gear Bench | Shields and augments |
| 3 | Medical Lab | Healing supplies |
| 4 | Refiner | Advanced crafting components |
| 5 | Utility Station | Tactical and mobility equipment |
| 6 | Explosives Station | Grenades and mines |
Move the Refiner higher if processed materials are blocking several upgrades. Likewise, prioritize the Medical Lab if healing supplies are your biggest recurring expense.
Avoid these resource-management mistakes:
- Selling ARC components before checking upcoming station requirements.
- Recycling materials needed for a higher-level upgrade.
- Crafting unnecessary equipment with scarce components.
- Attempting Weapon Amplification before unlocking the Outpost.
- Collecting random loot without tracking a specific upgrade target.
9. Manage Coins Without Delaying Workshop Progress
Coins and Workshop materials serve different purposes. Coins are primarily earned by selling extracted Topside loot, with certain quests also providing currency rewards. They can be spent on equipment and supplies from traders, while Celeste uses Assorted Seeds rather than Coins for her trading system.
Keep three resource categories separate:
- Workshop materials: Reserve components needed for station upgrades.
- Crafting materials: Keep resources required for weapons, medical supplies, and tactical equipment.
- Surplus loot: Sell items that have no immediate crafting, quest, or progression purpose to build your Coins balance.
If you are considering cheap ARC Raiders Items as an optional equipment acquisition route, account for your current crafting requirements first. Purchased equipment does not replace Workshop upgrades, blueprints, or the materials required for advanced progression.
For your next raid, select one Workshop upgrade, track its missing materials, and prioritize the relevant containers and ARC enemies. Extract once you have secured the resources you need, complete the upgrade in Speranza, and replenish your essential equipment. Once your core stations are developed, shift your attention toward Outpost expansion, Research Station Level 4, and Gunsmith Level 4 to progress toward Weapon Amplification.